Photo Enhancer vs Upscaler
People use these words interchangeably and then wonder why the result disappointed them. They do different jobs.
An enhancer improves the pixels you have. Noise, compression damage, flat colour, lost edge definition. The output is the same size as the input, but each pixel carries more usable information.
An upscaler creates pixels you do not have. The output is two, four or eight times larger, reconstructed from a model trained on millions of photographs.
One fixes quality. The other fixes size. Most photos need one and not the other, and quite a few need both — in a specific order.
How to tell which you need
Open the photo at 100%. Not fit-to-window — actual pixels.
If it fills your screen and looks bad: you need enhancement. There are plenty of pixels; they are noisy, flat or mushy. Making it bigger will make a bigger bad photo.
If it is a small window on screen and looks fine inside that window: you need upscaling. The pixels are good, there are just not enough of them.
If it is small and also looks bad: you need both, and the order matters.
Why the order matters
Enhance first, upscale second. Always.
An upscaler works from what it is given. Feed it a noisy image and it faithfully reconstructs the noise at four times the size — now you have large, sharp, well-defined noise. Feed it compression blocks and it renders crisp compression blocks.
Clean the image first and the upscaler has real detail to extrapolate from. The difference is not subtle.
The one exception is cropping, which comes before both. Upscaling and then cropping spends the enlargement on pixels you delete.
The full order
- Crop to what you actually want in frame.
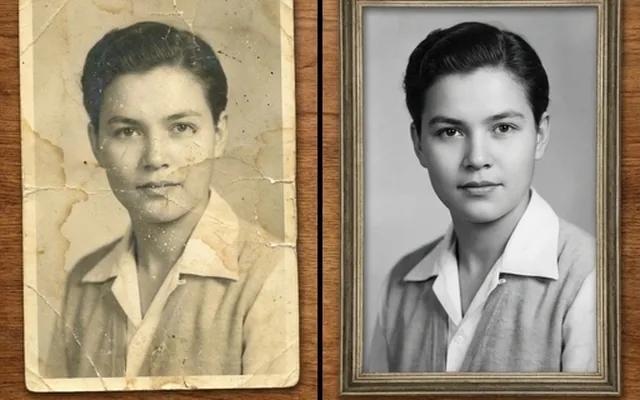
- Restore, if the source is a damaged scan — tears, fading, mould.
- Enhance — noise, compression, colour, edges.
- Upscale to the pixel count you need.
- Face pass, if the photo is a portrait and the face still looks generic.
- Check at 100%, especially text and faces.
Every step here is optional except the checking.
What each one cannot do
An enhancer cannot add resolution. If your photo is 500 pixels wide, it will still be 500 pixels wide, just better ones. No amount of enhancement makes a small photo printable.
An upscaler cannot fix blur. It reconstructs detail consistent with what it sees, and if what it sees is blurred, it produces a larger blur with sharper edges. Motion blur and misfocus are enhancement problems — see how to unblur an image.
Neither can recover what was never captured. A photo taken in the dark at ISO 12800 has genuine information loss. Both tools will improve it. Neither will make it a photograph taken in good light.
Worked examples
Phone photo from 2014, 8MP, looks flat and noisy. Enough pixels, poor quality. Enhance. No upscaling needed unless you are printing large.
Product photo from a supplier, 600px, clean but tiny. Good quality, not enough pixels. Upscale to 1600px for marketplace zoom.
Scan of a 1970s print, soft and yellowed. Damage first. Restore, then enhance, then upscale if printing.
Screenshot of a document, text unreadable. Neither, really — use the text clarifier, which is tuned for character shapes rather than photographic texture.
Group photo, you want one person's face. Crop to the face. Enhance the face. Then upscale if you need it larger.
The one-line version
Enhance improves what is there. Upscale adds what is not. Do them in that order, crop before both, and check the result at 100%.
Both are free to try — three credits on signup, no card.