Photo Enhancer vs Upscaler: Which One Does Your Photo Actually Need?
They sound like the same thing and they solve different problems. How to tell which one your photo needs, why the order matters, and what happens when you get it backwards.
 EnhanceIT
PRO
EnhanceIT
PRO
"Make it HD" usually means one of two different things, and the route is different for each.
Sometimes the photo is small — 640 pixels wide, from an old phone or a website — and needs to be bigger. Sometimes it is already large but soft: plenty of pixels, none of them carrying much detail. Doing the wrong one wastes your time and, on a paid plan, your credits.
The terms get used loosely, so here are the numbers:
| Name | Pixels | Where you need it |
|---|---|---|
| HD | 1280 × 720 | Old video standard, rarely relevant to photos |
| Full HD | 1920 × 1080 | Screen wallpapers, presentations |
| 2K | 2048 × 1080 | Basic print, A5 |
| 4K | 3840 × 2160 | Large prints, modern displays |
| 8K | 7680 × 4320 | Poster and exhibition printing |
For print, forget the labels and work back from size. The rule is roughly 300 pixels per inch at final size:
A photo can be "4K" and still print badly if the pixels are soft, which is why resolution alone is not the answer.
This costs nothing and matters more than anything else you will do afterwards.
Every messaging app recompresses. A photo sent through WhatsApp comes out a fraction of its original size, and once that has happened the detail is gone for good. Before processing anything, check:
A 4000-pixel original beats a 900-pixel copy that has been enhanced, every time.
Enlarging a flawed photo enlarges the flaws. If the image is noisy, compressed or flat, run the photo enhancer first — it removes noise, repairs compression damage, recovers edge definition and corrects colour in one pass.
Doing these together works better than in sequence, because each correction depends on what the others found. Noise reduction that does not know where the edges are will smooth them; edge recovery that does not know what is noise will sharpen it.
Now enlarge. Upscaling is not resizing: resizing averages neighbouring pixels, which is why an enlarged photo looks soft. Upscaling reconstructs plausible detail from a model trained on millions of real photographs, so fabric weave comes back as weave and foliage comes back as leaves.
How far you can honestly go:
Check text and faces at 100% before you use the result. Those are where an upscaler guesses most confidently and most wrongly.
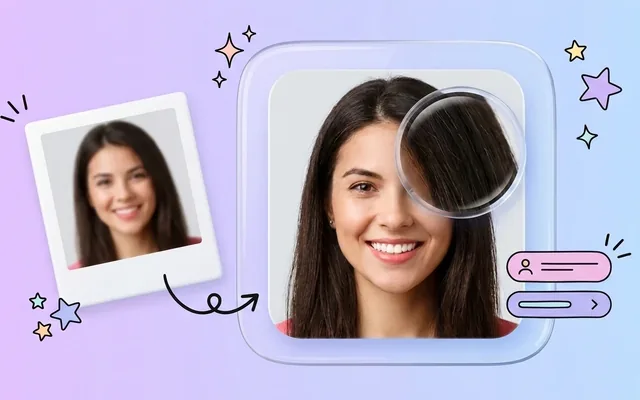
Faces need their own pass. A general upscaler treats an eye like any other high-contrast region and produces something eye-shaped rather than an eye. The face enhancer uses a model trained specifically on facial structure, so it rebuilds the eye as an eye.
Crop close to the face first. A face occupying 5% of the frame gives the model 5% of the pixels to work with.
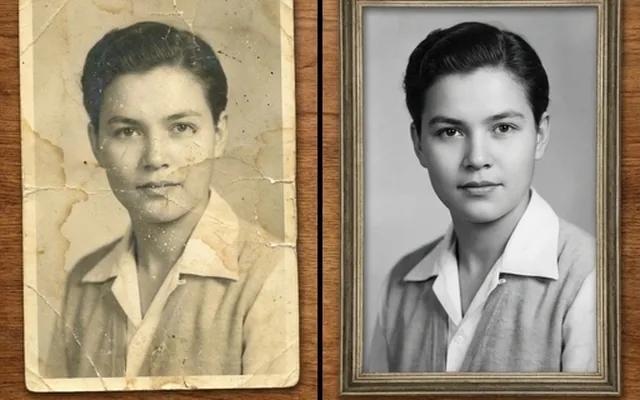
Different order again. Restore first, then upscale. Restoration works on damage — tears, fading, colour shift, mould — and doing it first means the upscaler works from a clean image rather than enlarging the damage along with everything else.
Scan at 600 DPI or higher, and include the white border: the undamaged edge tells the model what the paper tone should be.
Screenshotting the result. A screenshot re-captures at screen resolution and throws away everything you just gained. Download the file.
Upscaling a screenshot. Same problem at the other end. Find the original.
Going straight to 8×. More is not better. Each doubling gives the model less to work from and more to invent.
Upscaling before cropping. You spend the enlargement on pixels you then delete. Crop first, upscale second.
Assuming megapixels mean quality. A soft 24MP photo carries less usable detail than a sharp 8MP one. Fix quality, then size.
Free for the first three images, no card, about fifteen seconds each.
They sound like the same thing and they solve different problems. How to tell which one your photo needs, why the order matters, and what happens when you get it backwards.
Remini popularised AI photo restoration and then put most of it behind a subscription. Seven alternatives compared on what they actually do well, what they charge, and where each one falls down.
Resizing and upscaling are not the same thing. What actually happens when you enlarge a photo, how far you can push it honestly, and where AI reconstruction stops being recovery and starts being invention.
Not all blur is the same, and only some of it is recoverable. A practical guide to unblurring photos free online — which kinds of blur come back, which never will, and the order to do things in.