Photo Enhancer vs Upscaler: Which One Does Your Photo Actually Need?
They sound like the same thing and they solve different problems. How to tell which one your photo needs, why the order matters, and what happens when you get it backwards.
 EnhanceIT
PRO
EnhanceIT
PRO
There are two operations people call "making an image bigger", and they produce completely different results.
Resizing is arithmetic. To double an image's width, the software has to invent a pixel between every pair of existing ones, and it does so by averaging its neighbours. Averaging is, by definition, the removal of difference — and difference is what detail is made of. That is why an enlarged photo looks soft. Nothing was added; the same information was spread across more pixels.
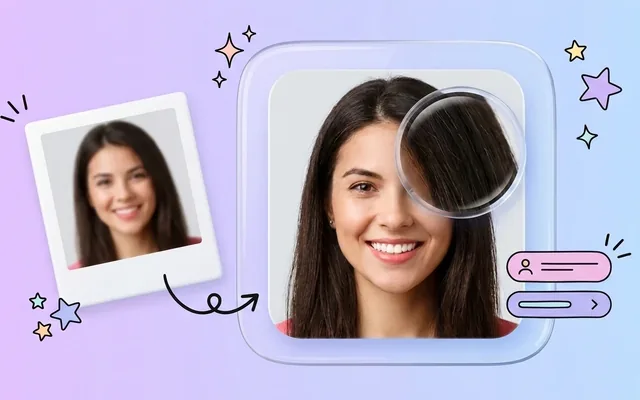
Upscaling with a model is different in kind. The model has seen millions of pairs of low- and high-resolution photographs, so it has learned what a blurred patch of brick, hair, or foliage looks like when it is sharp. Instead of averaging, it reconstructs. Fabric weave comes back as weave rather than as grey.
That difference is why a 4× upscale can look convincing and a 4× resize never does.
This is where most guides overpromise. The useful framing:
2× is safe on anything. Portraits, landscapes, product shots, screenshots. If you are unsure, this is the setting.
4× holds up on texture. Landscape, architecture, fabric, foliage — subjects made of repeating fine detail, which is exactly what the model is best at reconstructing. Faces at 4× are usually fine but worth checking.
8× is a rendering informed by your photograph. It is legitimate for a background, a texture, or anything nobody will study. It is not an enlargement in the sense of "the same photo, bigger".
The reason is simple: at 8×, 63 of every 64 pixels in the output were generated rather than captured. Whether that is acceptable depends entirely on what the image is for.
Do not pick a multiplier. Pick a destination and calculate.
For print, 300 pixels per inch at final size:
For screen, match the display:
For marketplaces, check the requirement. Amazon wants 1600px on the longest side to enable zoom, which is the single most common reason a listing photo underperforms.
Upscaling past your destination costs credits and gains nothing.
Two categories, and they are worth knowing because the failure is confident rather than obvious.
Text. A blurred "3" and a blurred "8" look similar. An upscaler will produce one of them, sharply. If you are enlarging a document, a sign, a licence plate or a receipt, verify every character against the original — and use the text clarifier, which is tuned for exactly this.
Faces. A general upscaler treats an eye as a high-contrast region and produces something eye-shaped. On someone identifiable, that is a real loss. Use the face enhancer, which is built on a model trained specifically on facial structure, and compare against the original at full size.
Texture is the opposite case: on hair, grass, brick and fabric the reconstruction is close enough to be indistinguishable, and this is where upscaling genuinely earns its place.
Does it work on screenshots? On large type, yes. Small body text is the hardest case for any upscaler — verify anything you intend to read.
Will it fix a blurry photo? Only if the blur is really missing resolution. Motion blur and misfocus are different problems; see how to unblur an image.
Is it free? Three credits on signup, no card. Free results carry a watermark; the underlying quality is identical.
What formats? JPEG, PNG, WebP, HEIC and several others, up to 10MB.
Find the largest original, crop, clean, then upscale to a size you calculated rather than guessed. Check text and faces. Download rather than screenshot.
Try the upscaler — free for the first three images.
They sound like the same thing and they solve different problems. How to tell which one your photo needs, why the order matters, and what happens when you get it backwards.
Remini popularised AI photo restoration and then put most of it behind a subscription. Seven alternatives compared on what they actually do well, what they charge, and where each one falls down.
What 'HD' actually means in pixels, how far a low-resolution photo can honestly be pushed, and the free route from a small blurry picture to something you can print or publish.
Not all blur is the same, and only some of it is recoverable. A practical guide to unblurring photos free online — which kinds of blur come back, which never will, and the order to do things in.