Photo Enhancer vs Upscaler: Which One Does Your Photo Actually Need?
They sound like the same thing and they solve different problems. How to tell which one your photo needs, why the order matters, and what happens when you get it backwards.
 EnhanceIT
PRO
EnhanceIT
PRO
Every guide to unblurring photos opens by promising that AI can fix any blurry picture. That is not true, and believing it is why people upload a photo, get a disappointing result, and conclude the tools do not work.
The honest version is more useful: blur comes in several kinds, and they are not equally recoverable. Knowing which kind you have tells you what to expect before you spend a credit.
Your hand moved, or the subject did, while the shutter was open. The detail is still in the file; it has been *smeared along a direction*. Because that smearing follows a consistent path, a model can reason backwards along it.
This is the most recoverable kind of blur there is. A photo taken at 1/15s indoors, where everything has a slight directional drag, often comes back looking like it was taken at 1/125s.
The lens focused on the wrong plane. Slight misfocus — the eyes soft but the ears sharp on a portrait — recovers reasonably, because there is still edge information nearby to work from.
Severe misfocus does not. If the subject is a smooth gradient with no discernible edges, there is nothing to reverse. Anything that appeared would be invented, and on a face that matters.
This is not really blur. The photo has been saved at low quality or at a small size and then enlarged, so what looks like softness is actually missing pixels. Sharpening will not help — you cannot increase the contrast of detail that is not there.
The fix is upscaling, which reconstructs the missing pixels rather than trying to sharpen the ones you have.
Zoom to 100% and look at a high-contrast edge — a dark branch against sky, the frame of a window, text on a sign.
Most bad results come from doing the right things in the wrong order.
| What you see | What to use |
|---|---|
| Slight softness, everything else fine | Image sharpener |
| Soft, noisy, flat colour | Photo enhancer |
| Small image, pixelated when enlarged | Image upscaler |
| A face that has gone soft | Face enhancer |
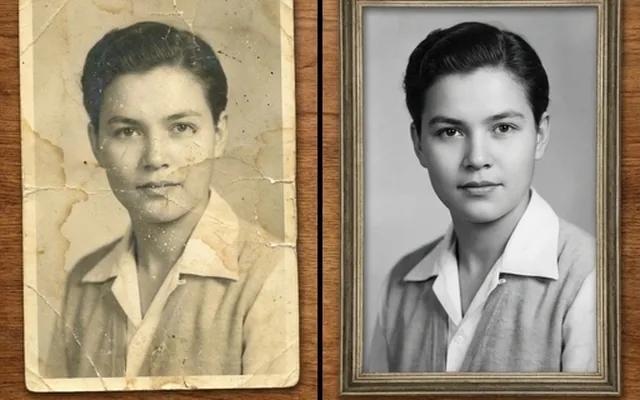
| Old scanned print, soft and damaged | Photo restorer |
The specialist tool beats the general one when its specific problem is the only problem. The enhancer beats everything when there are several problems at once, because the corrections inform each other.
Sharpening increases contrast at edges. A dark pixel next to a light pixel becomes darker and lighter. Your eye reads increased local contrast as "sharper", which is why it works at all.
The limit follows directly: it can only emphasise edges that exist. If an edge has been blurred until neighbouring pixels are the same value, there is no edge to emphasise. Turning the slider further just amplifies the halos around edges that survived, which is what makes over-sharpened photos look crunchy and artificial.
AI models go further because they have seen millions of sharp photographs and can reconstruct plausible detail rather than only emphasising existing detail. That is genuinely better — and it is also why you should look at the result carefully. On texture (fabric, foliage, hair) the reconstruction is close enough to be indistinguishable and genuinely useful. On text and faces it is a statistical guess, and a confidently wrong character is worse than a blurred one.
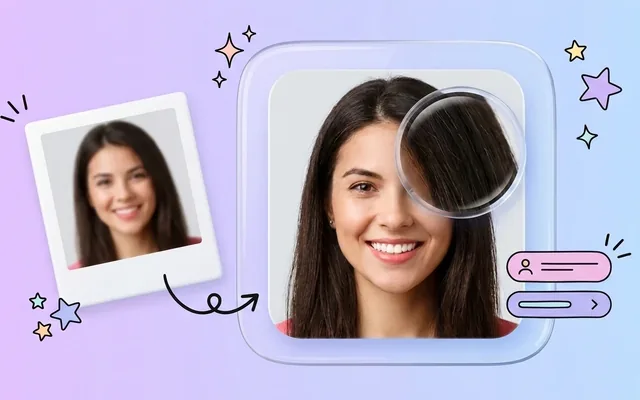
A slightly soft photo becomes a good photo. A moderately blurred photo becomes usable. A badly blurred photo becomes a slightly less blurred photo, and no tool changes that — the information is not in the file.
That is not a limitation of any particular product. It is what blur is.
Try it on your own photo — the photo enhancer is free for the first three images, no card required, and takes about fifteen seconds.
They sound like the same thing and they solve different problems. How to tell which one your photo needs, why the order matters, and what happens when you get it backwards.
Remini popularised AI photo restoration and then put most of it behind a subscription. Seven alternatives compared on what they actually do well, what they charge, and where each one falls down.
Resizing and upscaling are not the same thing. What actually happens when you enlarge a photo, how far you can push it honestly, and where AI reconstruction stops being recovery and starts being invention.
What 'HD' actually means in pixels, how far a low-resolution photo can honestly be pushed, and the free route from a small blurry picture to something you can print or publish.