How to Convert Photos into Authentic Pencil Sketches Online
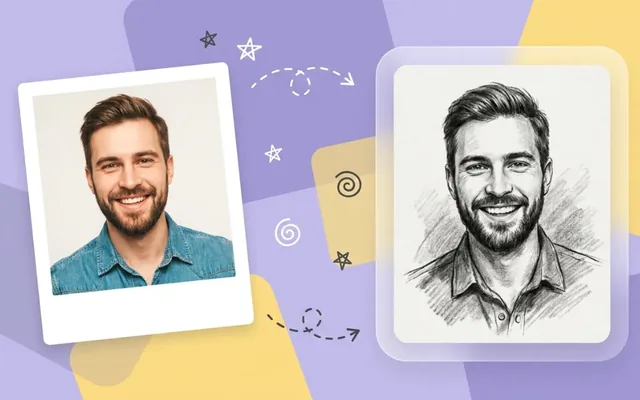
How to Convert Photos into Authentic Pencil Sketches Online The aesthetic appeal of a handcrafted pencil sketch never goes out of style. Whether you are…
 EnhanceIT
PRO
EnhanceIT
PRO
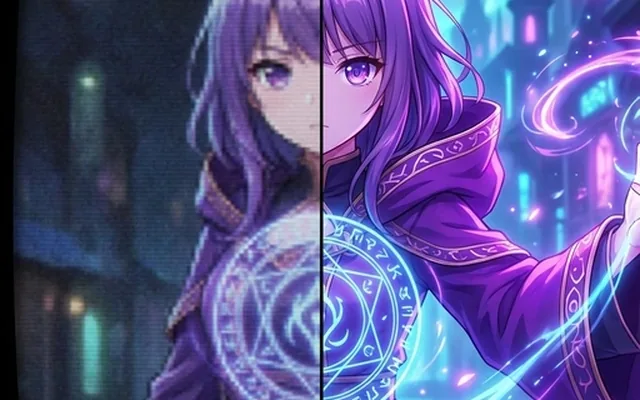
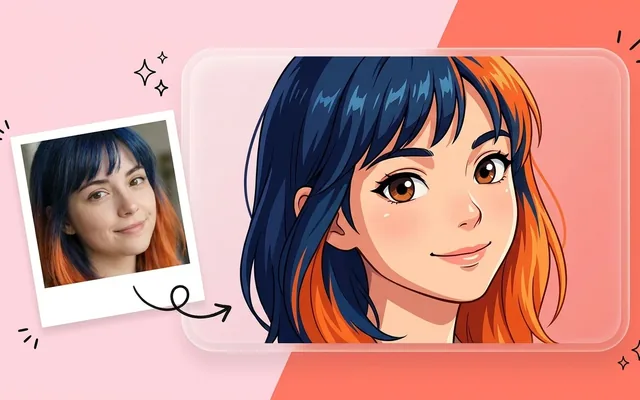
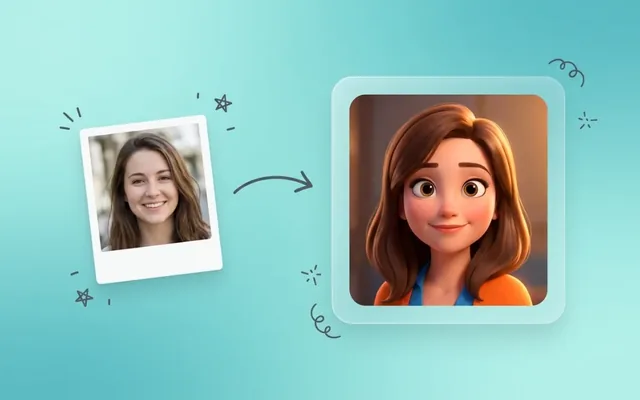
Turning a standard selfie into a high-quality anime illustration is easier today than it has ever been. Just a few years ago, achieving this look required hiring a digital artist or spending hours manipulating filters in Photoshop.
Today, advanced artificial intelligence can analyze your facial structure, map your unique features, and redraw your portrait in the style of your favorite Japanese animation studios in seconds.
Whether you want a new profile picture, an avatar for gaming, or character art for a personal project, this guide will walk you through the exact steps to turn your selfie into an anime character using modern AI tools.
If you have ever tried asking a standard AI chatbot to “turn my photo into an anime character,” you likely received a disappointing result.
General-purpose image generators are trained on everything from photographs to oil paintings. When you ask them for “anime,” they apply a generic cartoon filter. They often ignore your actual face shape, eye color, and hairstyle, resulting in a character that looks nothing like you.
To get a result that preserves your likeness, you need a tool specifically trained on anime aesthetics and facial mapping. This is where specialized platforms come in.
For this tutorial, we recommend using the AI Photo to Anime tool from EnhanceIT PRO.
We recommend this specific platform because it is built entirely for high-fidelity character translation. It does not require you to write complex prompts, it preserves your facial structure accurately, and it allows you to download the final image without any watermarks.
Other alternatives like Midjourney or Stable Diffusion are powerful, but they require a steep learning curve and significant prompt engineering to achieve consistent results.
The AI can only generate an image as good as the reference photo you provide. To ensure the best possible anime translation, follow these guidelines when selecting your selfie:
Good Lighting is Crucial: Ensure your face is evenly lit. Harsh shadows across half of your face can confuse the AI, causing it to generate asymmetrical anime features or strange shading. Natural window light is always best.
Look Directly at the Camera: While profile shots can work, straight-on angles or slight three-quarter turns yield the most accurate likeness. The AI needs to see the spacing between your eyes and the shape of your jawline.
Avoid Cluttered Backgrounds: A busy background with lots of objects or other people can cause the AI to blend those elements into your character. If your favorite selfie has a messy background, consider using an AI Background Remover first to isolate yourself before applying the anime effect.
Once you have your photo ready, head over to the anime converter tool. The process is straightforward:
When the generation is complete, examine the result. Because AI is interpreting pixels, the first result is not always perfect.
If the eyes look slightly off or the hair color shifted, do not be afraid to generate the image a second time. The AI produces a unique variation with every click, so running it two or three times gives you the best selection to choose from.
Once you have the perfect anime portrait, you might notice that the resolution is a bit low for printing or high-definition screens. You can easily fix this by running the final illustration through an AI Image Upscaler, which will enlarge the image and crisp up the line art without losing any quality.
When creating anime portraits, users frequently run into a few common pitfalls.
Wearing sunglasses or heavy accessories: AI relies on your eyes and facial structure to establish likeness. Sunglasses completely block the most important identifying features of your face.
Group photos: These tools are optimized for single subjects. Uploading a photo with three friends will often result in merged faces or the AI simply ignoring the other people entirely. Crop the photo to just yourself before uploading.
Low-resolution inputs: Uploading a blurry, pixelated selfie forces the AI to guess what you look like. Provide a crisp, high-resolution image for the best results.
Turning your selfie into an anime character is a fun, creative process that takes only a few minutes with the right tools. By starting with a clear, well-lit photo and using a specialized platform like EnhanceIT PRO, you can generate stunning illustrations that actually capture your personality.
If you are interested in creating artwork completely from scratch rather than using a selfie, you might also want to explore the best free AI image generators in 2026 to see what else is possible with modern generative technology.
How to Convert Photos into Authentic Pencil Sketches Online The aesthetic appeal of a handcrafted pencil sketch never goes out of style. Whether you are…
Top 10 Best AI Photo to Anime Converters in 2026 (Free & Paid) The internet is flooded with AI art generators, but if you want…
📚 Complete Guide: AI Photos for Business: The 2026 Guide Are you struggling to find a comfortable men’s sneaker brand in Pakistan? Then you’re at…
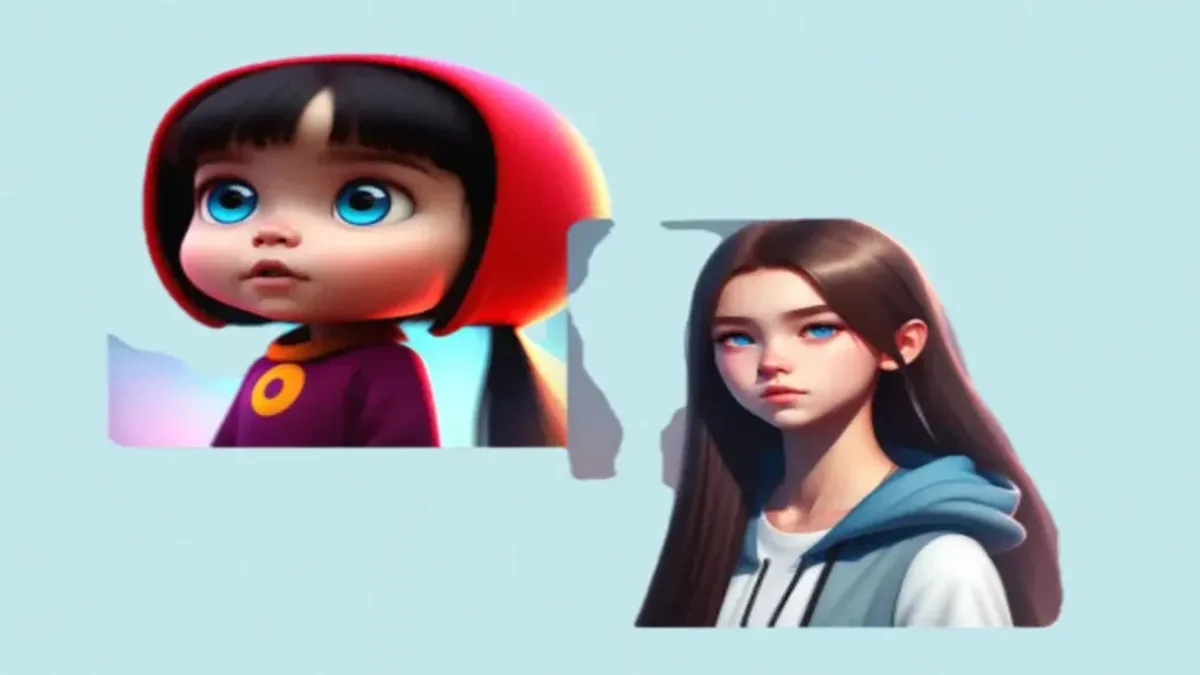
Cartoon photos are the best way to share images for fun purposes, but software like Photoshop requires lots of complex editing, which may not be…