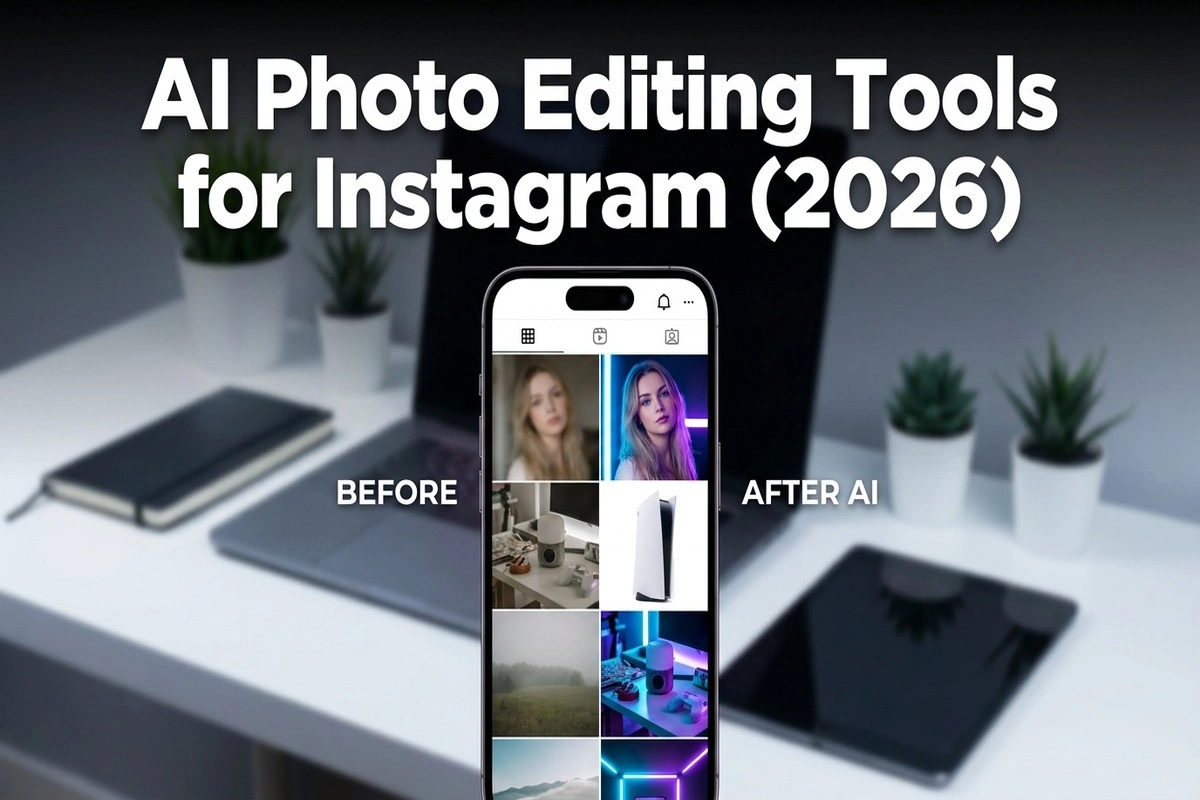
Instagram is no longer just about posting often. It is about posting visuals that stop the scroll. Good lighting, clean composition, and consistent style matter more than ever. The challenge is speed. Most creators and small brands do not have time for long manual edits on every image.
That is why AI photo editing tools for Instagram are becoming standard in creator workflows. Used correctly, they help you produce polished images faster while keeping your visual identity consistent across reels covers, carousels, stories, and ads.
This guide explains how to choose the right AI editing stack, where each tool fits, and how to avoid over-editing that hurts trust and engagement.
What Instagram creators actually need from AI tools
Many AI tools market themselves as all-in-one solutions, but Instagram workflows are usually modular. You might need enhancement on one post, background cleanup on another, and object removal on a third.
The most useful capabilities for Instagram teams are:
- Quick sharpening for slightly soft photos
- Background cleanup for product and portrait shots
- Upscaling for cover images and ad creatives
- Color correction to keep feed consistency
- Fast exports in mobile-friendly dimensions
The key is consistency, not extreme effects. Your audience notices when every post looks like a different brand. AI should reduce editing time while preserving your style, skin tones, and product colors.
If you are building a repeatable process, use one main enhancement workflow and add specialized tools only when needed. This keeps your team fast and avoids random visual drift.
Recommended tool stack for Instagram use cases
Instead of chasing one perfect app, use a focused stack based on task type. This gives better results and more control.
| Instagram task | Best AI action | Suggested route |
|---|---|---|
| Blurry selfie or product closeup | Sharpen details | AI Image Sharpener |
| Busy background in product shot | Remove background | AI Background Remover |
| Low-resolution image for carousel cover | Upscale cleanly | AI Image Upscaler |
| Flat old photo with weak color | Restore color/clarity | AI Image Colorizer |
| Visual concepts for campaign | Generate variations | AI Image Generator |
This structure helps beginners and teams alike. You select the exact operation based on the post objective, not on whichever tool is trending that week.
For creators transitioning from manual workflows, read Comparing AI photo enhancers with Photoshop AI to choose where automation saves time and where manual editing still adds value.
A repeatable editing workflow for weekly content
Most Instagram accounts fail on consistency, not creativity. They batch ideas but edit images ad hoc. The result is visual inconsistency and wasted time.
Use this weekly AI workflow:
1. Batch-select 20-40 raw photos or visuals.
2. Group them by use case (products, portraits, lifestyle, graphics).
3. Run first-pass enhancement on all assets.
4. Apply targeted tools only where needed.
5. Export in platform-safe dimensions and naming format.
Practical checklist before publishing:
- Are colors consistent with your brand palette?
- Are faces and skin textures still natural?
- Is text (if any) readable on mobile?
- Does the cover image remain sharp in grid view?
- Is the main subject clear in the first second?
This process works well for solo creators and agencies. It also reduces decision fatigue because your team follows a fixed pipeline instead of reinventing edits every day.
When handling large volumes of product imagery, the production logic in Background removal for ecommerce product photos can be adapted directly for Instagram shop catalogs.
Mistakes that make AI edited Instagram posts look fake
The biggest risk with AI editing is not poor quality. It is loss of authenticity. Audiences are very good at spotting content that looks too processed.
Common quality failures include:
- Oversharpened skin or edges
- Unnatural lighting transitions
- Saturation pushed too far
- Inconsistent skin tone across carousel slides
- Background cutouts with halo artifacts
A good rule: if the edit is obvious before the subject is obvious, you edited too much.
AI should help your message, not replace it. Keep edits subtle. Let composition and storytelling carry engagement. Use enhancement to improve clarity, not to create a synthetic look that disconnects from your audience.
Another mistake is tool stuffing in workflow and content. You do not need to run five AI tools on every image. One or two focused operations usually produce the cleanest result.
If you need to fix low-resolution assets from older shoots, apply a controlled upscaling process like the one in How to upscale images to 4K and 8K quality before applying sharpeners or color edits.
How to choose tools by creator type
Different Instagram niches need different editing priorities. Choose tools based on your output type, not feature count.
- Fashion/Beauty creators: prioritize sharpening + tone consistency
- Ecommerce stores: prioritize background removal + clean exports
- Travel creators: prioritize enhancement + color recovery
- Coaches/educators: prioritize readable thumbnails + simple brand consistency
- Agencies: prioritize batch throughput + standardized presets
If your focus is growth, speed matters as much as quality. The creator who posts high-quality visuals consistently often wins over the creator who posts perfect visuals occasionally.
Use this lightweight rule when selecting tools:
| Need | Choose |
|---|---|
| Fast cleanup on existing photos | Enhancer + sharpener stack |
| Product-first conversion content | Background remover + upscaler |
| Creative concept generation | Image generator + light enhancement |
For teams managing multiple verticals, create template workflows per client category. This protects brand consistency while keeping production efficient.
AI editing is now part of competitive social media operations. The advantage comes from systems, not one-off tricks. Build a repeatable process, keep edits natural, and connect each post to a clear publishing goal. That is how AI tools become growth tools instead of distractions.